(Very) Long Term Goals
Opening up the Kitchen:
We talk dreamily about someday knocking down the wall between our kitchen and dining room. We know the wall is weight bearing so we will need a structural engineer to put a beam in place. Pulling down the wall will allow us to put in a small peninsula between the two rooms as well as double our current counter space. While we are tearing things down we plan to add recessed lighting to replace our florescent lights and hardwood floors!
Current Kitchen and Dining Rooms:

Dream Kitchen Rendering:

Master Bedroom:
Many of our neighbors have matching floor plans so when one of our neighbors explained how she and her husband put in a walk in closet we were thrilled! Very few original floor plans in our area allow for a walk-in no matter how small. Our trail-blazing neighbors simply knocked down the walls between two bedroom closets and a hall closet to make one jumbo closet! We would like to copy them and rough in a closet in the second bedroom from which a closet is being stolen. While we are at it we plan to replace our old off track metal closet doors. Converting the largest bedroom into a master bedroom will also require walling up a doorway that opens up to the dining room!
Current Dining Room, Office, and Second Bedroom Room:

Rendering of Future Master with Walk-in Closet:

Pucker Up
We decided early on that we wanted a bright red door with black shutters. Once the freshly painted shutters were up I anxiously waited for the weather to cool off enough that we could leave the front door open for a full day. We had grabbed red swatches for the door the same day we got them for our shutters:

We narrowed our selection down quickly but continued quizzing house guests on their way through the door for several weeks while the summer cooled off. We picked “Candy Apple,” far left row, second from the bottom.
The night before painting I scrubbed the door with liquid deglosser and ran painters tape around the tiny windows. The next day we woke up early, took off the door hardware, and started the first layer, which was grey primer. I couldn’t help but wonder if the neighbors walking by thought we had just picked a very dull front door color:


Once the primer was dry the first coat of paint went up:

Followed by a second:

We let the door dry before putting the hardware back on. The paint has held up fairly well over the past few months. To be honest it could use a touch-up where the paint cracked around the mail slot and white paint from the doorframe got stuck to the door. We would like to change out the hardware and get a new storm door but for now we are happy with the quick fix that cost us only a quart of paint and part of a Saturday. Now in addition to new mascara our house has fresh lipstick:

New Mascara
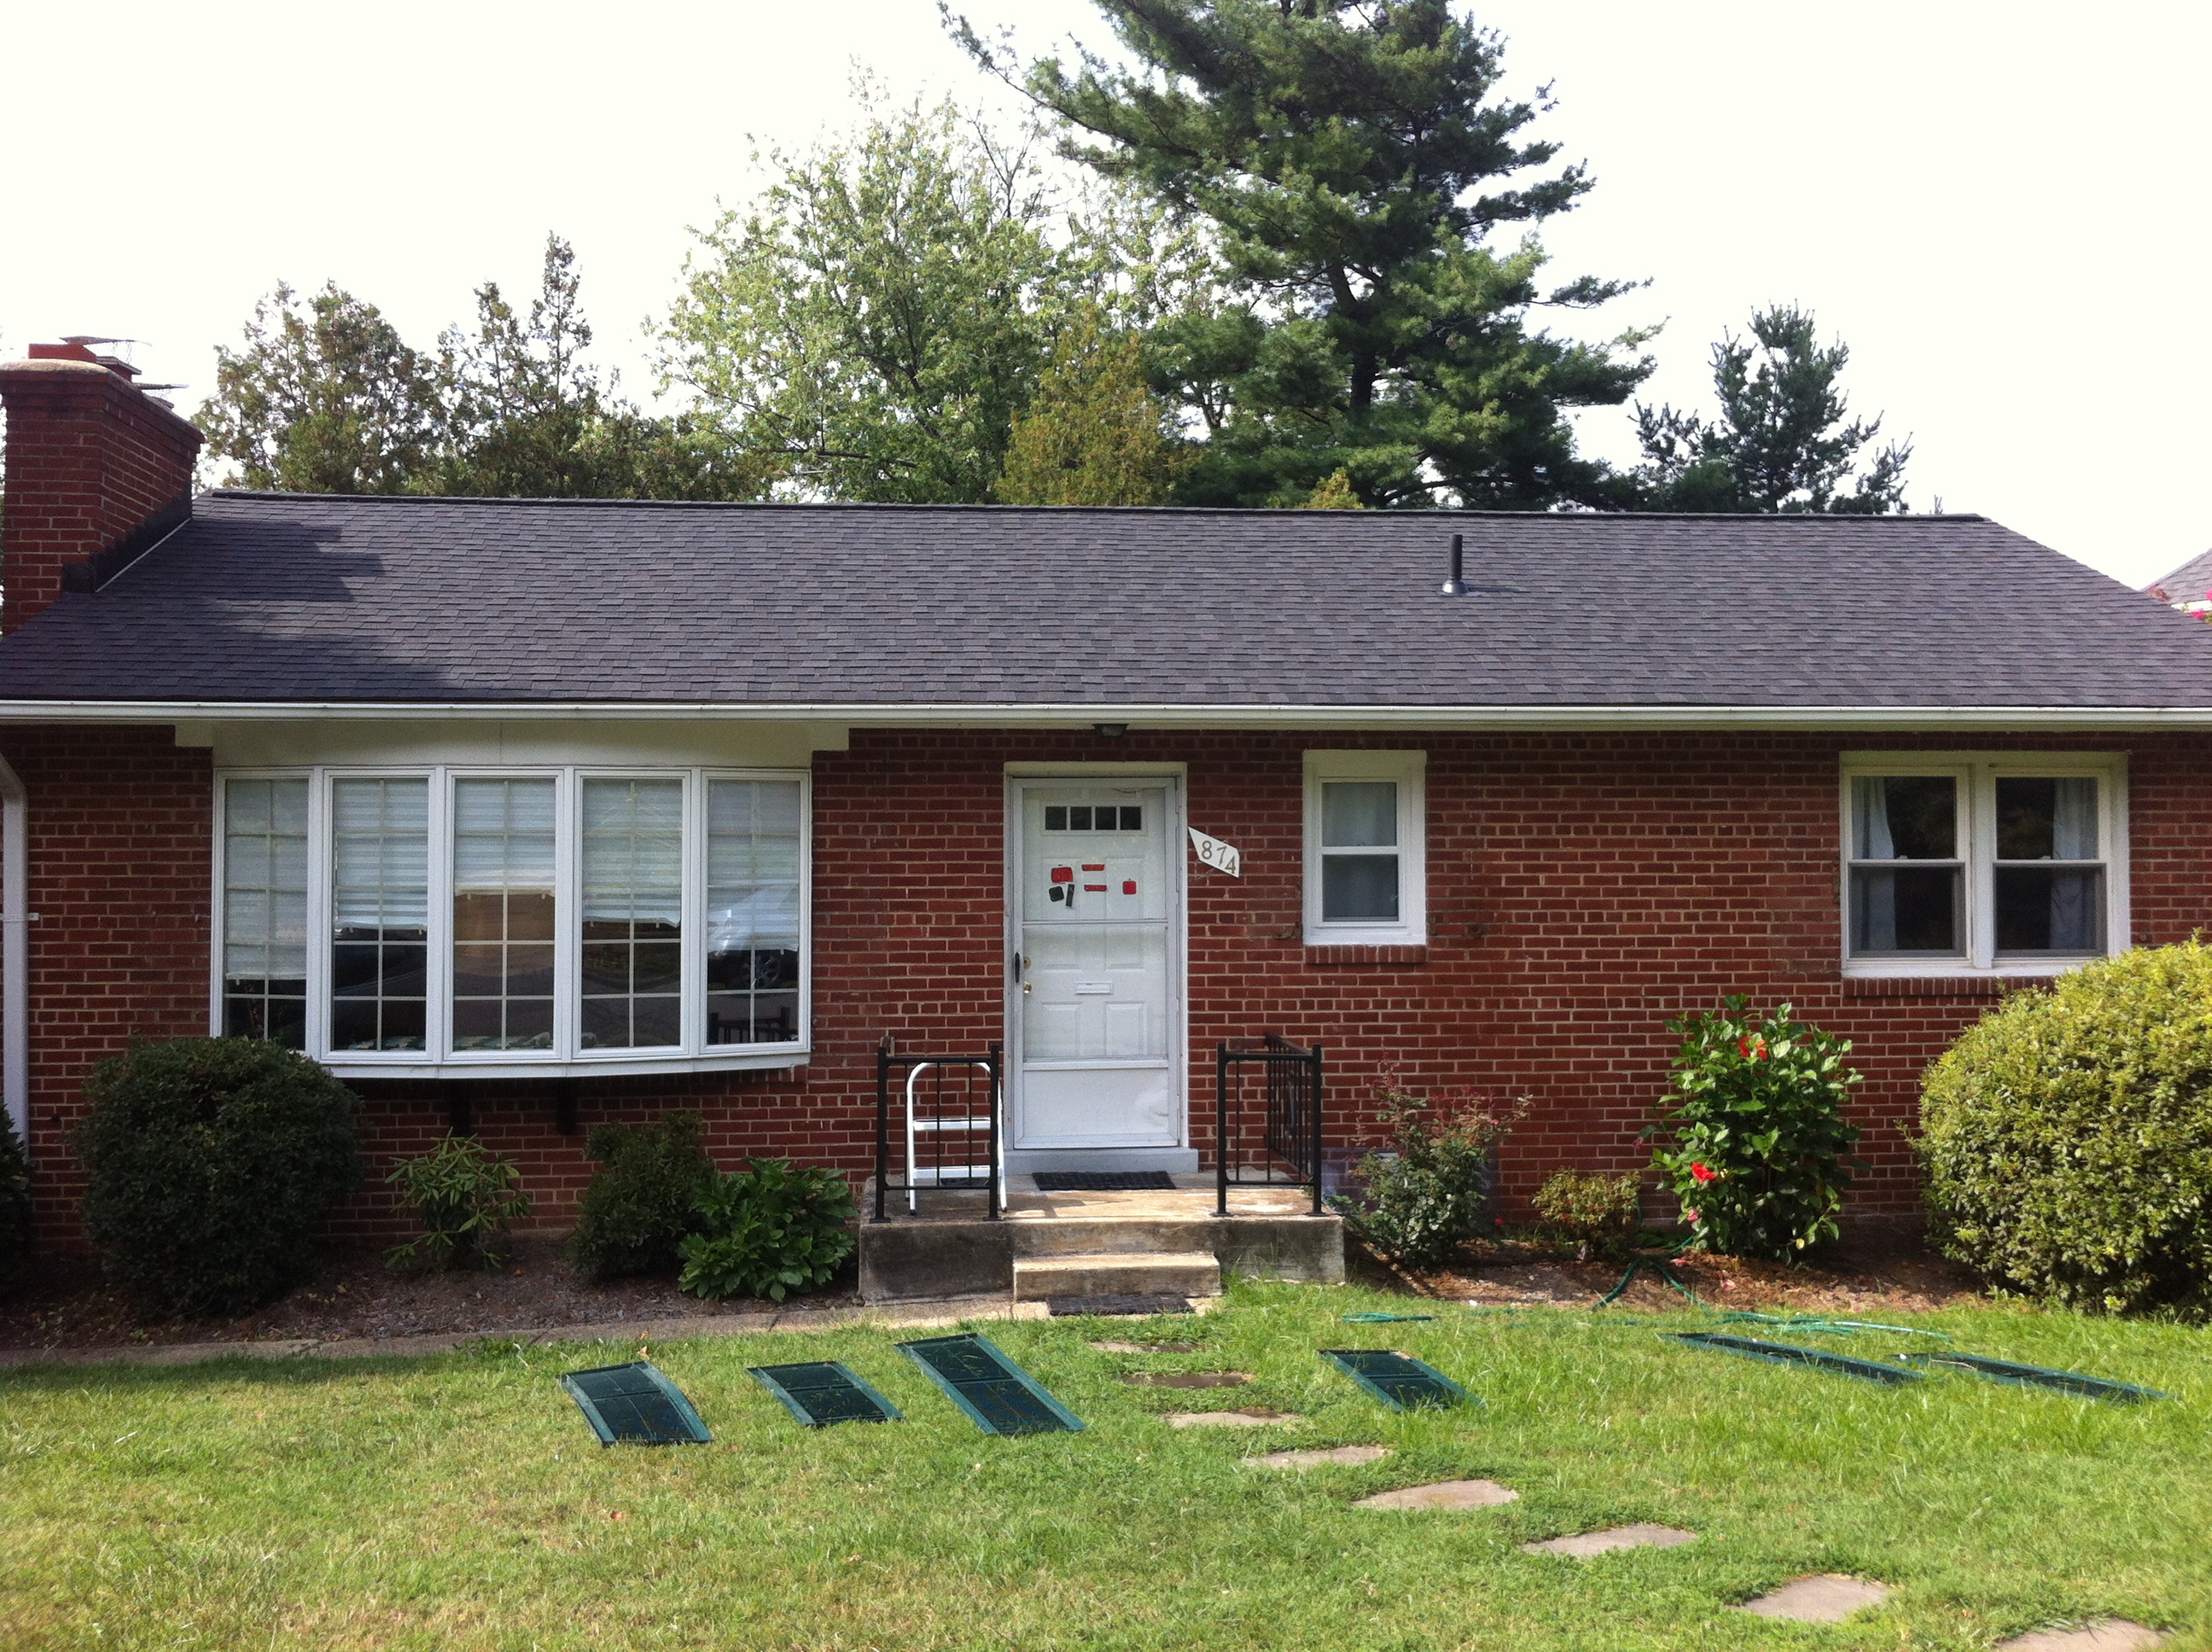
We were so motivated by the transformative effect of our new roof that we decided to keep our focus on curb appeal. My mom once noted to me that a house without shutters is like a face without eyebrows. And if the front of a house is its face than ours was in need of a makeover:

From far away the shutters look dark but in person they were very clearly green, which wasn’t our favorite. We grabbed a handful of grey through black swatches at home depot and taped them up to the shutters for a few days weeks. They were up long enough that Gus started weighing in on the decision.

We were worried that if we went too dark it might look overpowering so we went with “Evening Hush,” second from the top on the left side of the shutter. The first step was to remove the shutters. They are hollow and vinyl but in pretty good shape so we decided to paint right over them. We labeled each shutter on the inside with permanent marker as they came down (left bay, right bay, etc). We were able to get them off without any trouble using just an electric screwdriver and a ladder. What we weren’t expecting was what the hollow vinyl was covering up:

Each window uncovered an impressive array of wasp and bee hives, which were fortunately long vacant. We were able to knock them down with the hose and move on to cleaning the shutters. Here is our sad little eyelash-less house:
I scrubbed all the shutters with soap and water before moving on to painting. We decided to go with a paint and primer in one exterior paint to save time and effort:

After my first coat dried on shutter number one it was quite apparent that we had gone too light. We hemmed and hawed for a bit but ultimately decided to spring for a second quart of paint in “Black Suede,” the top right swatch. Ultimately we were much happier with the darker color. Here is a head to head comparison with Evening Hush on the left and Black Suede on the right:

After two coats of paint the shutters were able to go back up. We were only eyelash-less for a week and the end result was like new mascara:


Recent Comments